While Find the Markers may seem like just another scavenger-hunt-style experience, it actually offers quite an intricate map, with more than a handful of challenging secrets to find. With its Dryerase to Space update, Find the Markers has added seven new markers for players to discover, including the one that we'll be covering in this brief guide, the secret Marker Chomik.
Finding the Marker Chomik
Unlike most other markers inside of Find the Markers, Marker Chomik isn't actually a marker that exists within the experience's Markerdex at all, but rather a bonus badge that over-achieving players can collect. On top of that, those wanting to earn this badge will need to do so inside of a completely separate experience, Find the Chomiks, rather than Find the Markers. To learn more about this collab, continue reading below.
To start your journey of finding the Marker Chomik, join the Find the Chomiks experience and look for the arrow pictured below.
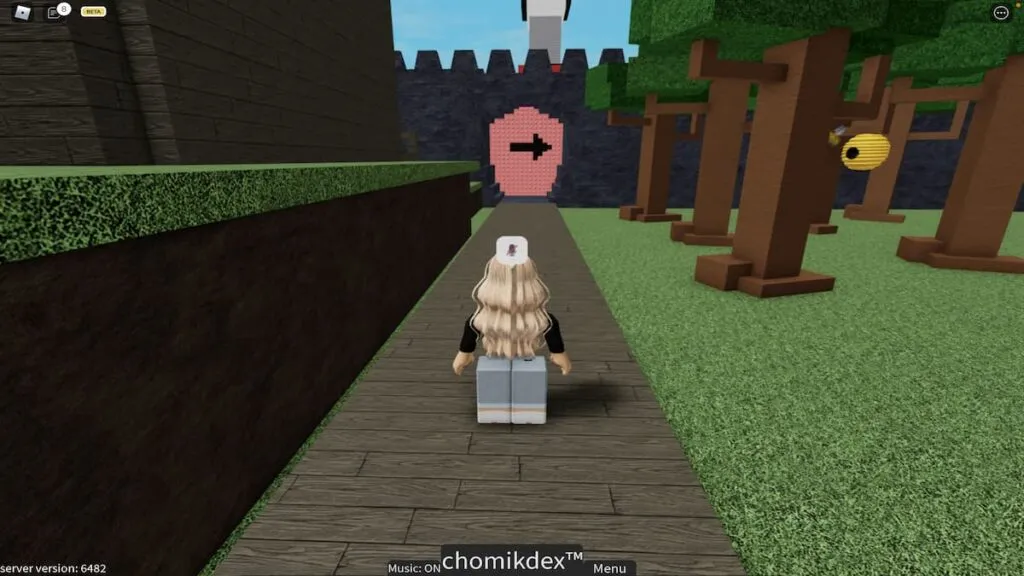
Approach this arrow and follow along the path that it directs you toward.
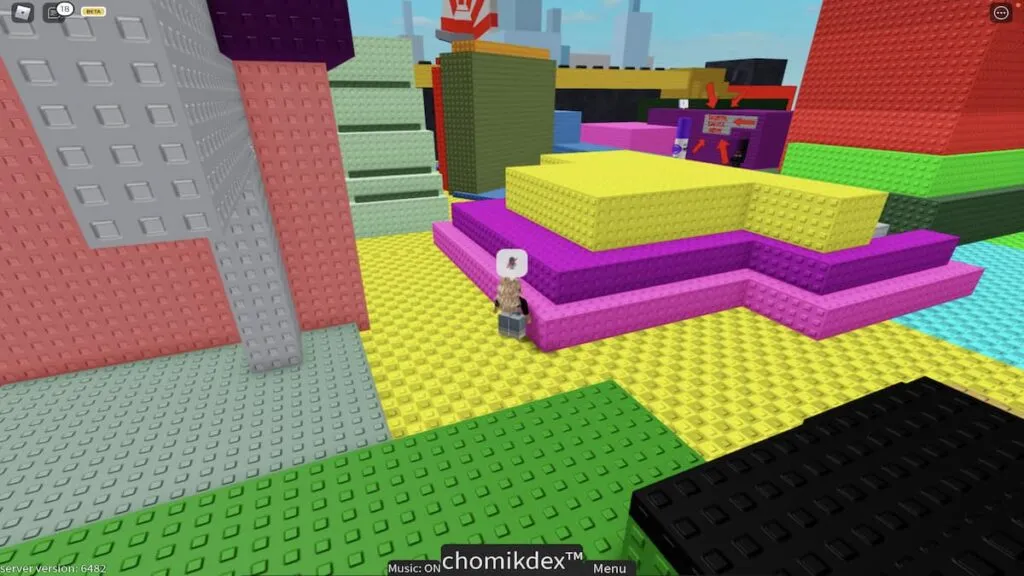
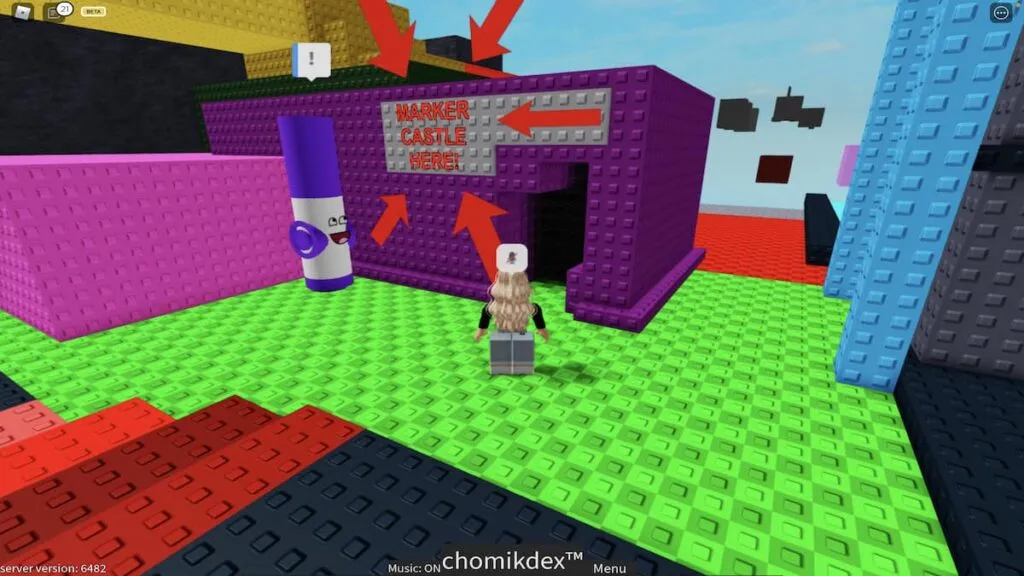
You should now be in a vividly colorful area of the map where you can see a large purple marker in the distance. Approach this marker and enter the small purple building labeled Marker Castle to continue toward the Marker Chomik.
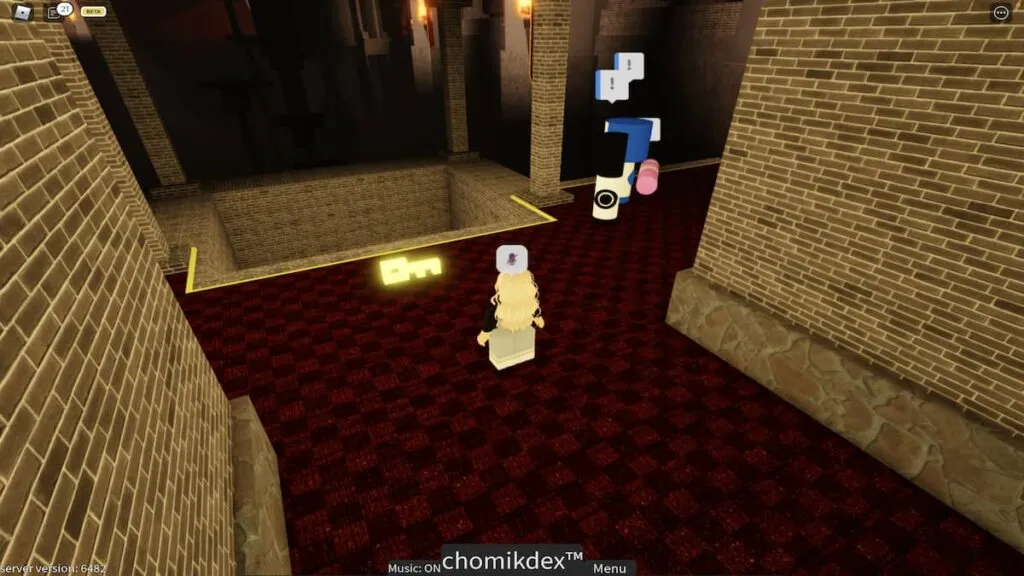
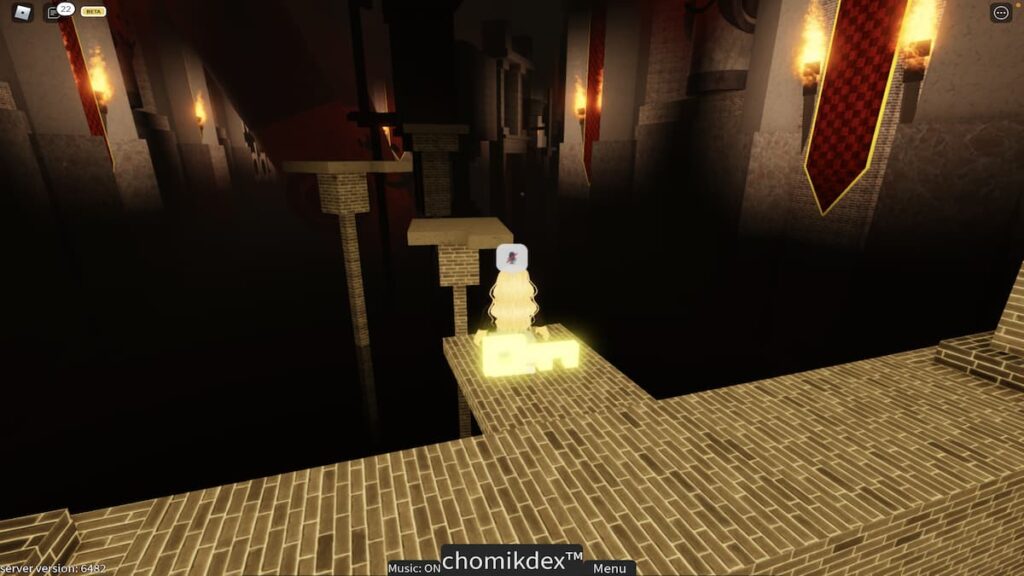
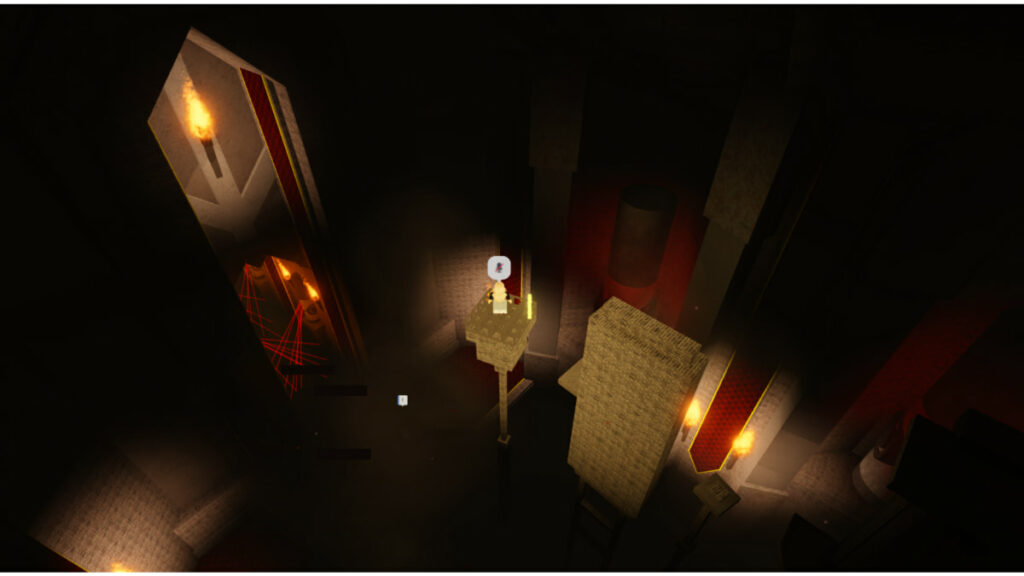
After walking through the dark entrance, you will automatically be teleported inside of the Marker Castle. In front of you should be a glowing yellow key—walk into it to pick it up, you'll need it later!
Now, you'll need to complete an, in our words, rather difficult, time-consuming, and exceptionally frustrating obby. Take your time as you hop, run, and squeeze through this lengthy obstacle course.
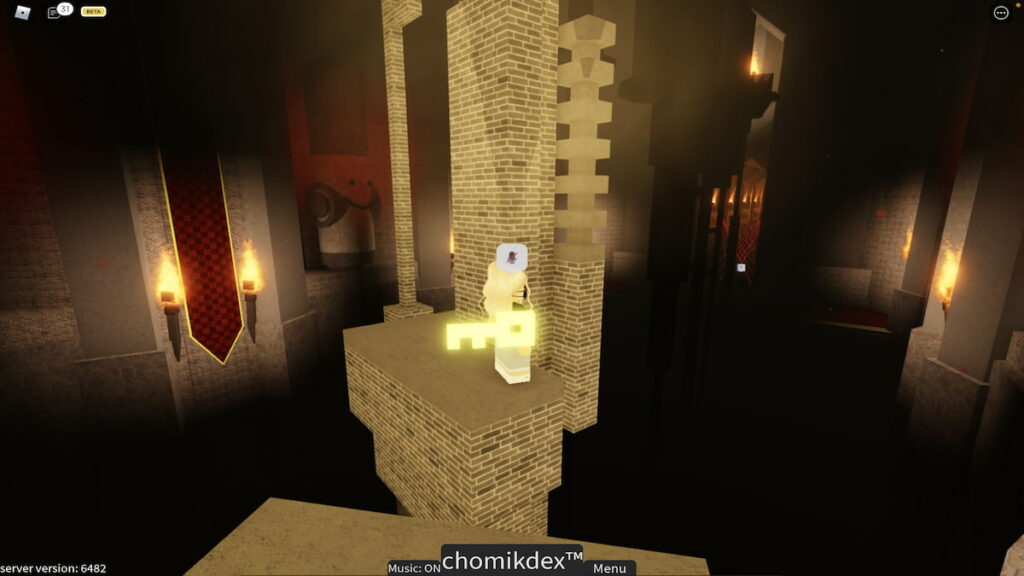
When you get to the obstacle pictured below, be careful as you jump! This weirdly-shaped wood block is a ladder that you need to climb, but it requires a perfectly timed and angled jump in order to grab onto it successfully.
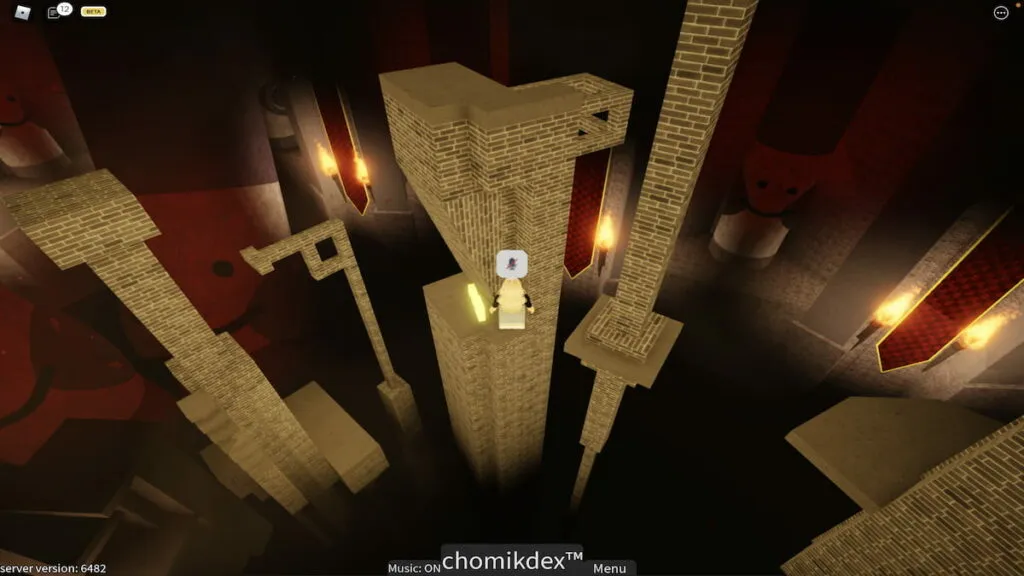
Once you've climbed it, continue through the rest of the course.
Related: How to get the Malding Marker in Roblox Find the Markers
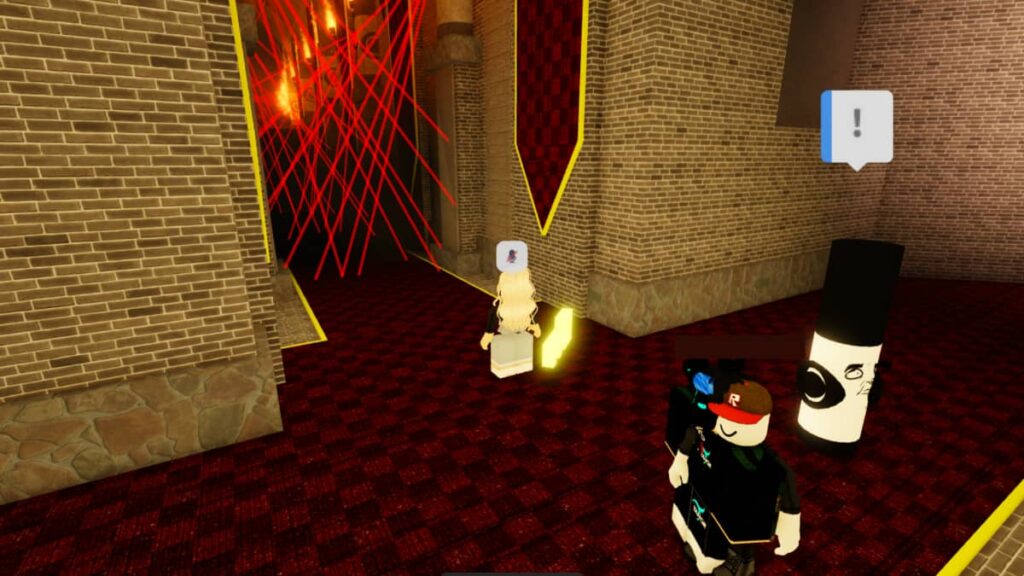
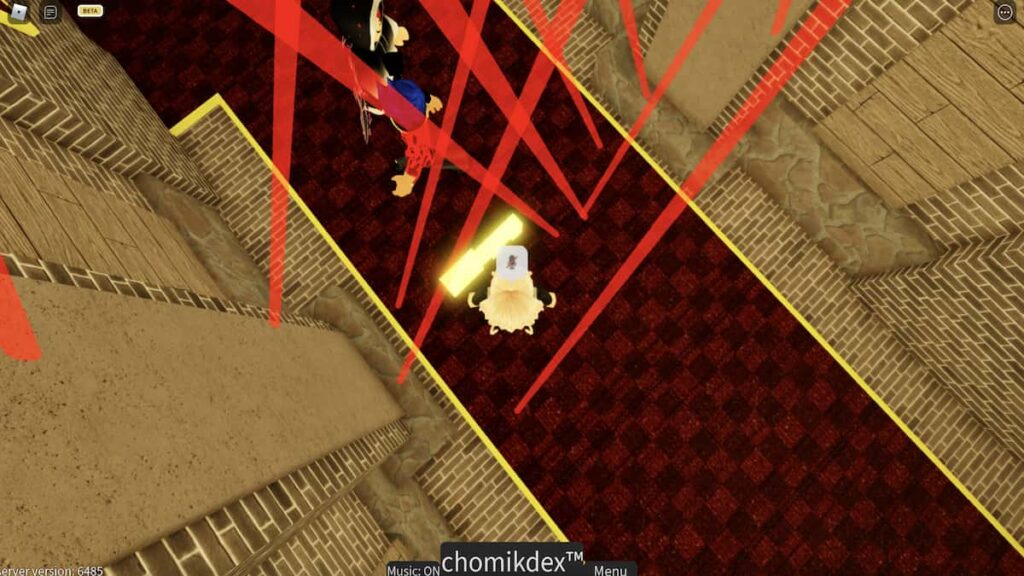
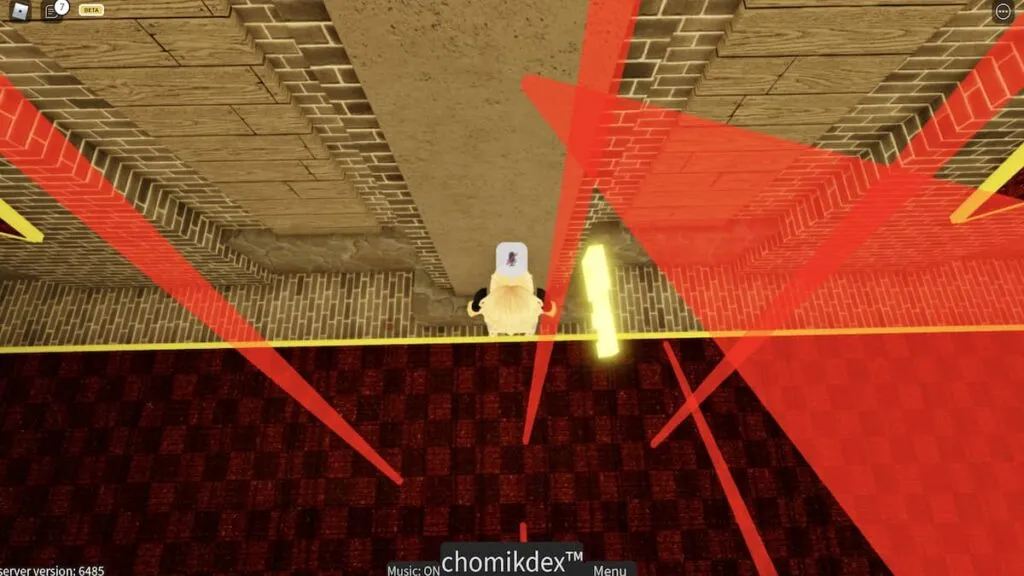
Yes, that is an entire corridor full of lasers in the picture below—our jaw dropped too.
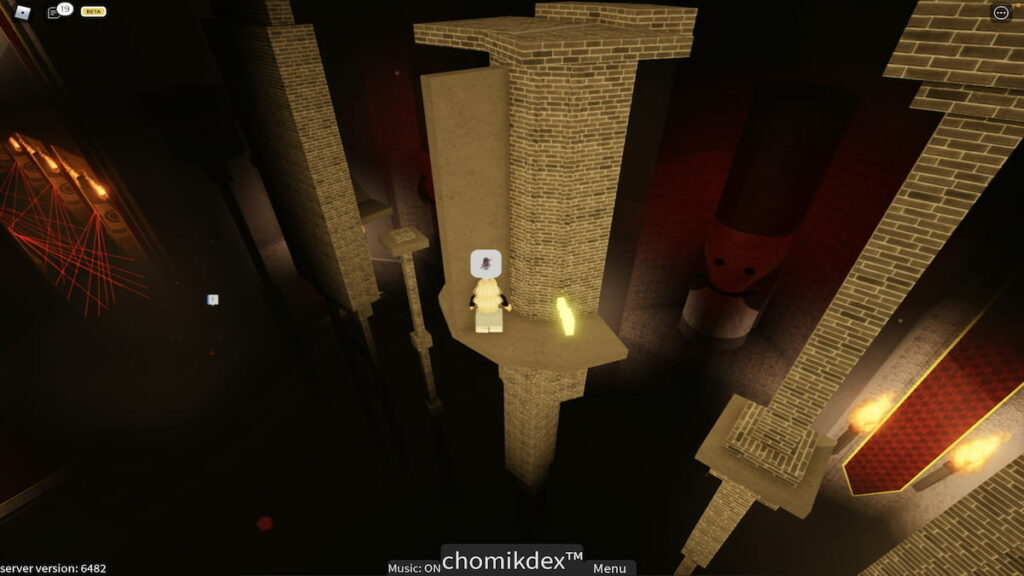
Once you've reached the final obstacle, all that you need to do is jump off of the platform and land on the ground below.
Now, before you attempt to maneuver throughout these lasers and lose your mind like we did, let us offer a life-saving tip. The first handful of times that we attempted this laser obby, we were certain that it was impossible to cross, but after trying multiple different routes, we came up with the simple solution below.
Before we start, however, it's important to note that for the entirety of this obby, you'll want to have shift lock turned on. To turn shift lock on, press the Roblox button in the upper left-hand corner, click Settings, and then locate the Shift Lock Switch and ensure that it's flipped to On. You may also need to change your camera mode to Follow. When shift lock is activated, pressing your Shift key will combine the movement of your character with the movement of the camera, meaning whichever way that your camera is moved, your Robloxian will follow.
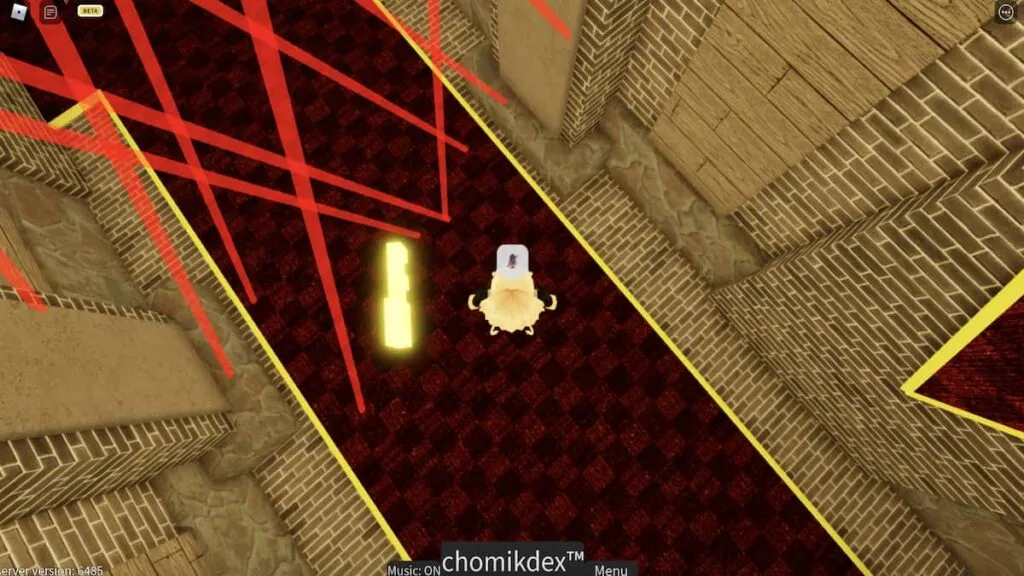
With shift lock turned on, align your character sideways through the first two lasers like we are in the picture below.
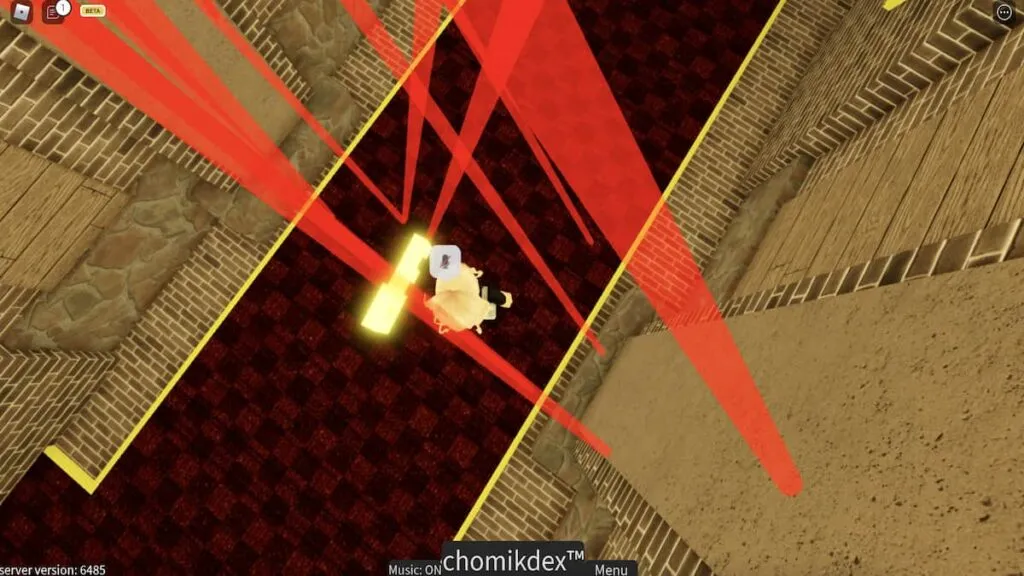
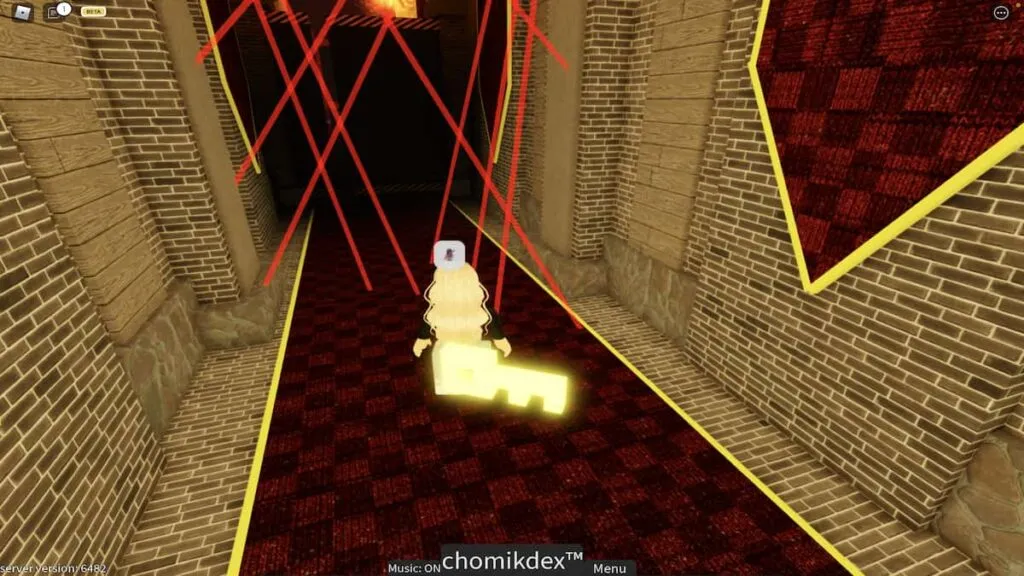
Then, by using your mouse, slowly turn your Robloxian until you reach the position below.
Once here, slowly move sideways while moving your mouse counter-clockwise and you should be able to squeeze through the last few lasers of the first section.
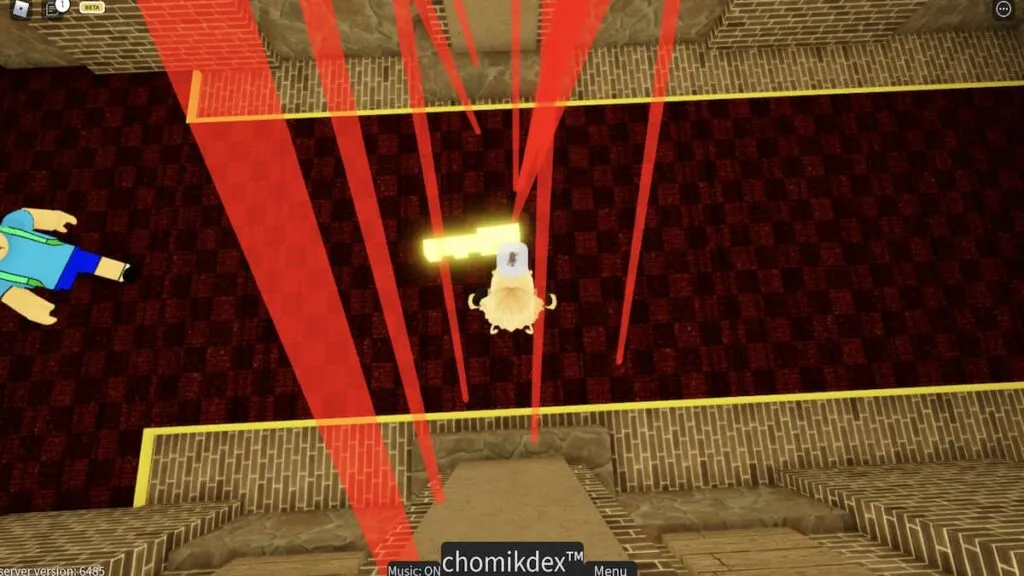
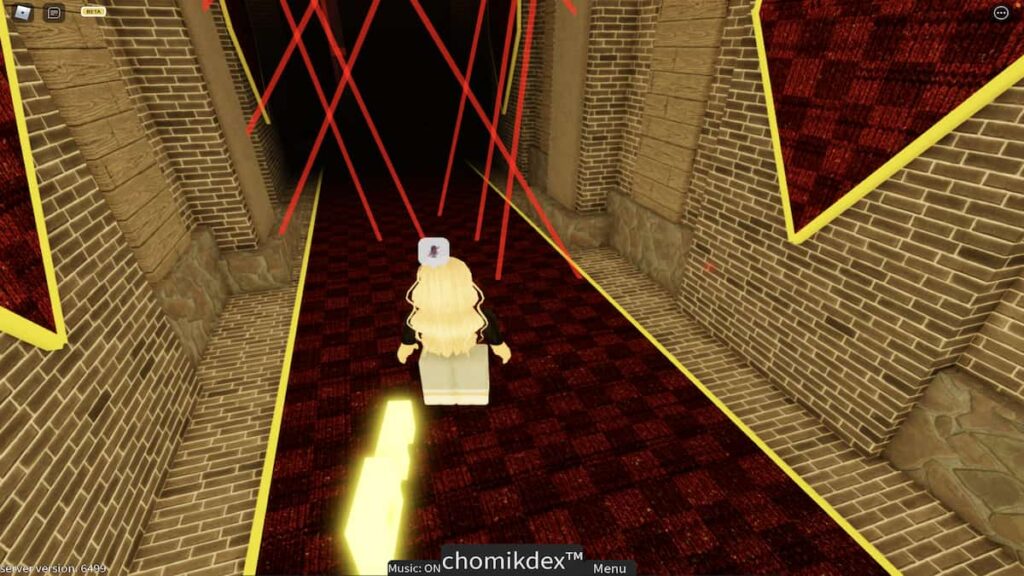
Once you've made it through the first section, turn your Robloxian around so that you're facing the next set of lasers.
Instead of trying to maneuver through these lasers, which is basically impossible and way too time-consuming in our opinion, we're instead going to take a short cut and jump over them! To do this, walk to the wall on your left and align yourself sideways against it. Then, hold the right movement key and press spacebar at the same time to slide and jump over the single laser.

Related: How to get the Stardust Marker in Roblox Find the Markers
If done successfully, you should now be onto the final set of lasers.
Again, instead of going through them, we're going to use a short cut. This time, align yourself against the wall to your right and slowly and carefully walk to the left.
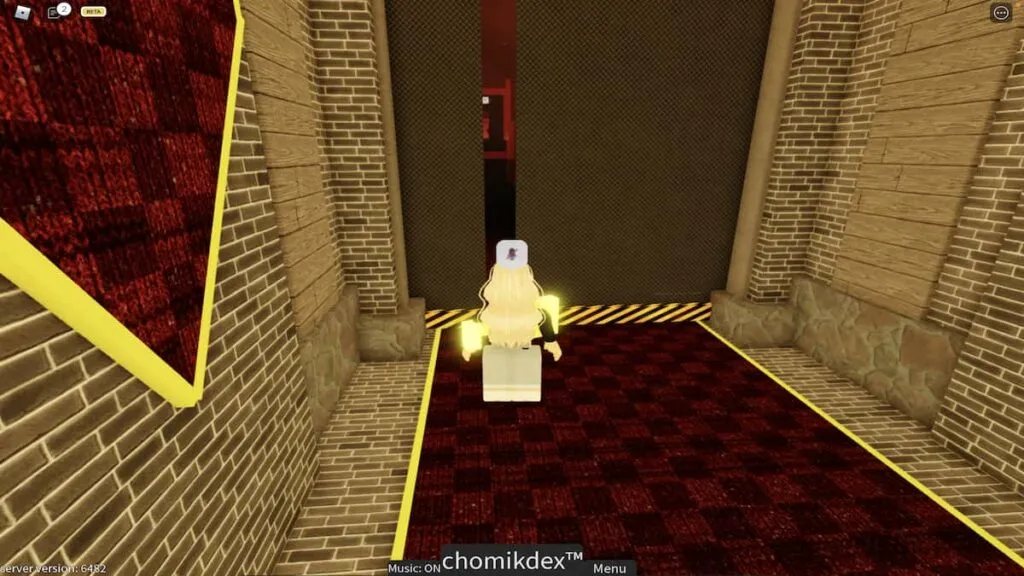
You should be able to sneak by without touching any lasers and reach the end of the hallway where the door pictured below is located. Turn your character sideways and walk to the right to squeeze through the opening in this door and reach the room on the other side.

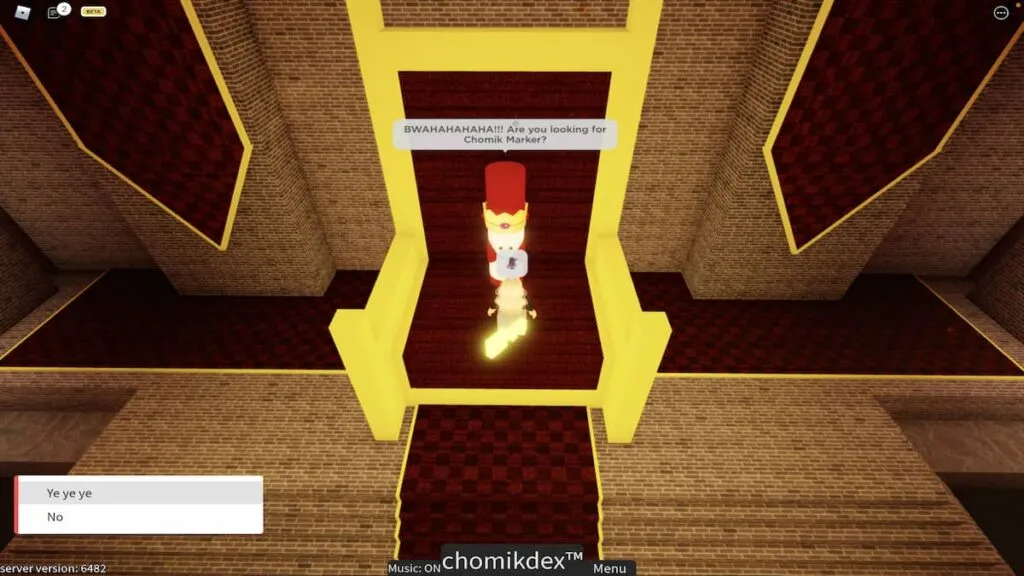
In this room is the King Marker sitting on their throne. Upon speaking to this marker, you'll be asked if you're looking for Marker Chomik—your response to this question doesn't matter, they'll say that they're not telling you where the Marker Chomik is located either way.
To find Marker Chomik, walk behind King Marker's throne.
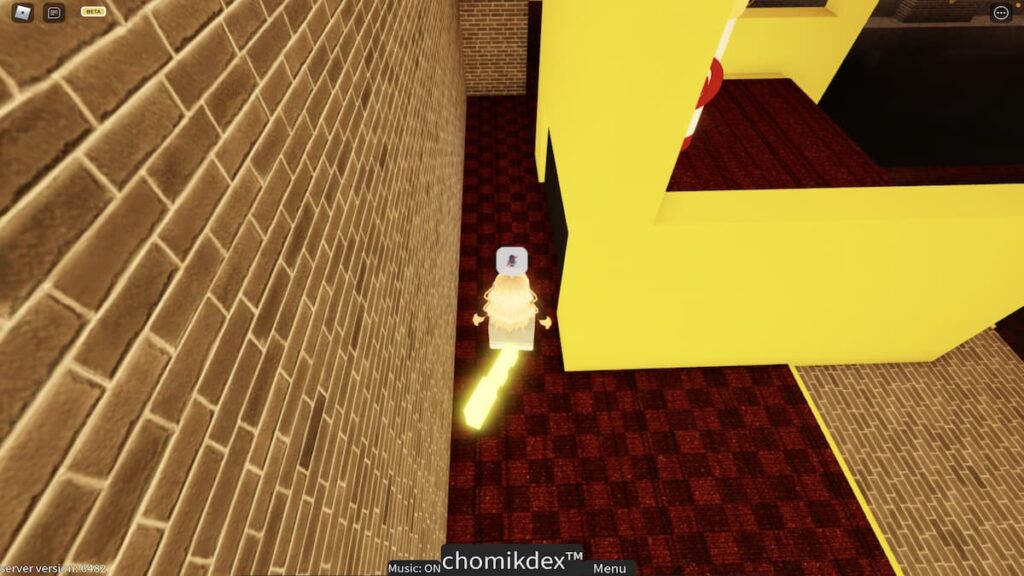
Hidden behind and underneath this throne is a small, locked cage with Marker Chomik inside of it! Approach the cage to use your key and unlock it.
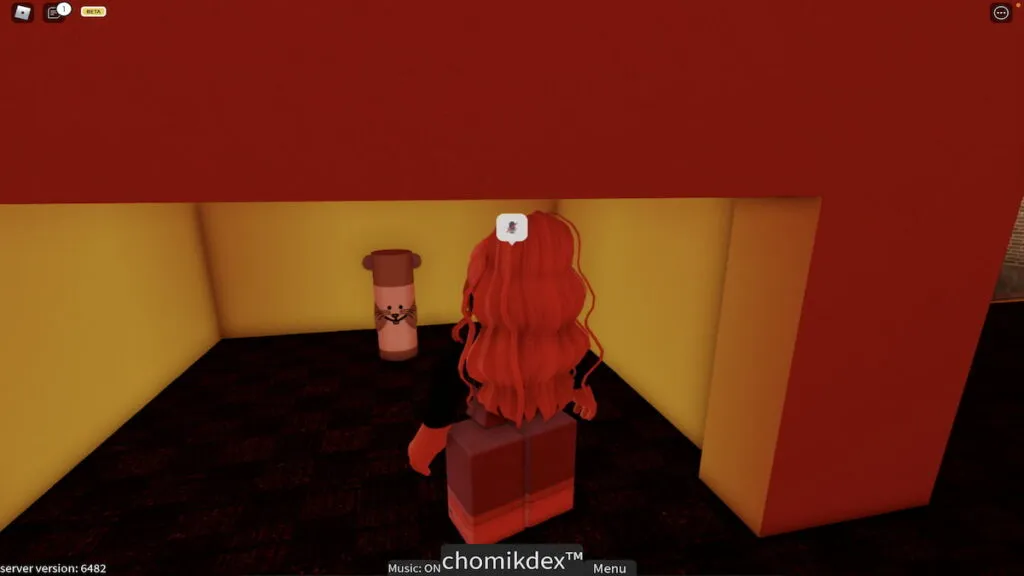
To collect Marker Chomik, simply walk up to it and touch it. Upon doing so, you should receive the badge pop-up below!
Now, take a deep breath and pat yourself on the back! At the time of this article's publication this badge has been earned by less than 5,000 people! Considering most markers are found by well over one million, and sometimes even ten million, users, that's an insane feat!!
Looking for more Find the Markers content? Check out our recent guides on How to get the Rainbow Road Marker in Roblox Find the Markers or How to get the Viridian Marker in Roblox Find the Markers!
ncG1vNJzZmiooqS0ornEoKyinJWoe6S7zGipqJqcpMVwtM6wZK2nXZyytXnMmqmknaJisKm7zKKiZqGeYr%2Bwrsuor2aemaOxbsDHnmSmmaKgsrO%2FjJ%2Bgp5xdqbWmecKhpqahm6h8